How to Change an Inner Tube: A Beginner's Guide for Cyclists
- Liam Marsh
- Sep 1, 2025
- 4 min read

Changing an inner tube might seem daunting, especially for new cyclists who worry about making mistakes or damaging their bikes. Fear not, as this concise guide walks you through every step with practical advice, tips, and the encouragement you need to gain confidence. At The Pompey Cycle Hub, we believe in building a supportive community where everyone feels empowered to tackle bike maintenance. Let’s roll up our sleeves and get started!
Understanding the Basics of Inner Tubes
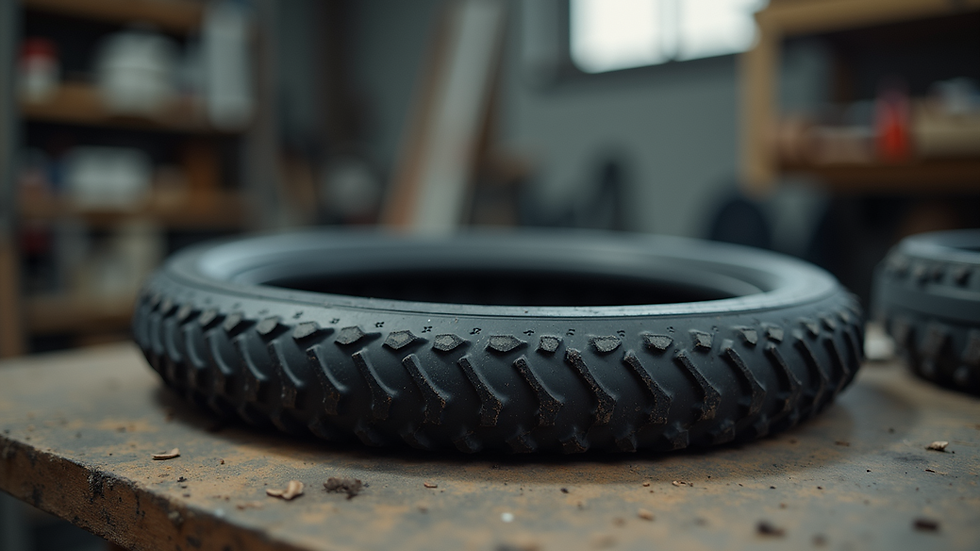
Inner tubes are essential components of your bike's tires, holding air and providing the cushioning needed for a smooth ride. If you find yourself with a flat tire, understanding how to change your inner tube can save you time, money, and a bit of frustration. Here are some reasons why knowing how to do this is crucial:
Independence: You won't have to rely on others or pay for repairs.
Skill Development: It enhances your overall bike maintenance knowledge.
Quality Time: You can bond with fellow cyclists, share tips, and learn together.
Gathering Your Tools and Supplies
Before you begin, gathering the right tools and supplies is essential. Here’s a must-have list:
A new inner tube: Make sure it’s the correct size for your bike.
Tire levers: These handy tools help to remove the tire without damaging it.
A pump: You'll need this to inflate the new tube.
A patch kit (optional): In case you prefer to fix the flat tube instead of replacing it.
A sturdy work area: Find a clean, flat surface to work on if possible.
Tool Tips
When selecting your new inner tube, double-check the size printed on the side of your tires. The most common sizes include 26”, 27.5”, and 29” for mountain bikes, while road and hybrid bikes often use 700c tubes.
Step-by-Step Instructions for Changing an Inner Tube
Now that you are armed with your tools and supplies, let’s dive into the step-by-step process for changing your inner tube.
Step 1: Remove the Wheel from the Bike
Release the brake: If your bike has rim brakes, release them to allow the wheel to come off easily.
Loosen the wheel: Depending on your bike, you may have quick-release levers or bolts. Open or unscrew them to remove the wheel.
Step 2: Take Off the Tire
Insert the tire levers: Position one tire lever between the tire bead and the rim to pry it loose. Once hooked, use it to slide around the rim, loosening the bead.
Take off the tire: Once one side of the tire is off, grab the inner tube and pull it free.
Step 3: Inspect the Inner Tube and Tire
Check the inner tube and the inside of the tire for any damage or sharp objects like nails or glass. This step ensures that whatever caused the flat won’t repeat with the new tube.
Step 4: Install the New Inner Tube
Inflate slightly: Inflate the new inner tube just a bit to give it shape, making installation easier.
Place the inner tube: Fit the inner tube into the tire, making sure it isn’t twisted.
Re-seat the tire: Push the tire bead back onto the rim, starting opposite the valve and working your way around. Ensure the tube is not pinched between the tire and rim.
Step 5: Reinstall the Wheel
Put the wheel back on: Align the wheel with the bike frame and secure the quick-release or torque the bolts back into place.
Reconnect the brake: Ensure everything is functioning properly and then squeeze the brakes to check their responsiveness.
Step 6: Inflate the Tire
Using the pump, inflate your tire to the recommended pressure, usually indicated on the tire sidewall. After inflating, check for any leaks around the valve and make sure the tire is seated properly.
Common Pitfalls to Avoid
As a beginner, you'll want to watch out for these common mistakes:
Pinching the inner tube: Always ensure the tube is seated properly before putting the tire back on.
Forgetting to inflate the tube slightly: An uninflated tube can collapse and twist, making installation tricky.
Ignoring rim tape: Make sure your rim tape is in good condition to protect the inner tube from sharp edges.
Helpful Hints
Remember to take your time. Rushing can lead to mistakes, so patience is key! And don't hesitate to refer back to your bike's manual or online resources for specifics tailored to your model.
Join Our Repair Workshops
At The Pompey Cycle Hub, we genuinely care about fostering a strong community among cyclists. We understand that changing an inner tube can be a little intimidating at first, which is why we offer hands-on repair workshops. Our experienced team is here to guide you, share tips, and practice these skills together in a friendly, inclusive environment.
Whether you are looking to enhance your bike maintenance skills or just want a safe space to learn, our workshops are designed for cyclists of all levels. Join us to build confidence and connect with your local cycling community!
Empower Yourself and Your Ride
Learning how to change an inner tube is a valuable skill for every cyclist. With patience, practice, and the right support from community hubs like The Pompey Cycle Hub, you will master this essential task. So, don’t hesitate to dive in, get your hands a little dirty, and remember: every cyclist starts somewhere. Embrace the journey of bike maintenance and enjoy the satisfaction of a job well done!
Cycling should be about freedom and enjoyment. With each turn of the wrench, you're not just fixing your bike; you're ensuring your adventures continue. Happy cycling!


Comments